D'oh! Common cleaning mistakes that can break your laptop or desktop PC
The more we use them, the more our computers attract dirt and grime. Shiny surfaces such as screens and laptop lids are magnets for fingerprints, while keyboards can become trays for collecting biscuit crumbs.
Cleaning your computer on a regular basis isn't just about making it look good, either. Neglecting your cleaning duties means dust can build up around the vents of your computer, causing the machine to overheat. Plus, dirt that gets trapped underneath your keyboard makes the keys harder to press.
But be careful - using the wrong cleaning method could end up doing more harm than good to your electronics. Keep scrolling and check in with our list of common mistakes to avoid.
Tech tips you can trust - get our free Tech newsletter for advice, news, deals and stuff the manuals don't tell you
How to clean a laptop
Don't use compressed air
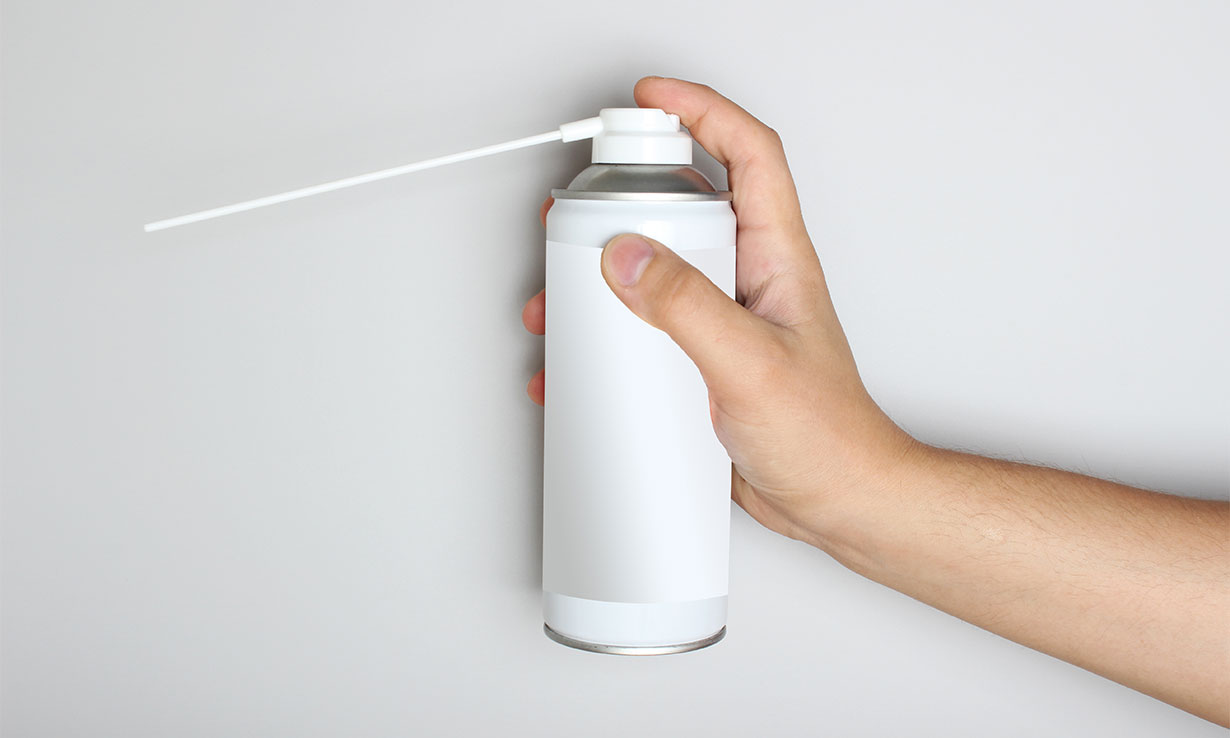
We've seen some articles online that suggest using compressed air is the right move if you want to blow dust away from laptop vents. This sounds logical, but our advice is to avoid compressed air entirely.
Using compressed air means you might blow dust back inside your computer, which is damaging to sensitive components. Plus a powerful blast of air could cause damage to your fan blades.
Don't use a vacuum cleaner
If you don't want to buy new cleaning equipment to give your laptop a refresh, you might be tempted to call upon your trusty vacuum cleaner.
However, using a vacuum cleaner to remove dust from your laptop is a bad idea. Doing so can create static electricity which, like compressed air, can potentially cause harm to the inside of your laptop.
Follow these six steps:
- Before you do any cleaning, power down your laptop and unplug it from the mains.
- If you can, remove the battery from your laptop.
- Take a dry, lint-free microfibre cloth and wipe the lid in a circular motion - this should remove most fingerprints and marks.
- Identify more stubborn dirt and use a second, slightly damp microfibre cloth. Wipe the stain with the damp cloth and then swap it to the dry cloth to remove any residual moisture. Don't use the damp cloth around ports, sockets or vents.
- Clean your laptop vents with a microfibre cloth, taking care not to push too hard against the plastic covering.
- Swap over to a cotton bud and use that to remove any dust in the air vents that your cloth can't reach. Don't jab the cotton bud inside the computer.
Prevention is the best cure for dust. Avoid using the laptop on a dust-filled surface such as bedding or carpet. You also need to make sure there's plenty of room around the vents when the computer is in use.
If you're thinking about replacing your current laptop entirely, we can help. Use our expert laptop reviews to find the best for your budget.
How to clean a desktop PC
Don't open the case without an anti-static wrist strap
The process behind cleaning a desktop is essentially the same as a laptop. Again, you'll want to avoid using your vacuum cleaner.
It's often possible to remove a desktop PC's casing, allowing you to clean the dust from the inside. Make sure you wear an anti-static wrist strap - this is important if you're going to be touching internal components such as your graphics card or a fan. You can buy an anti-static wrist strap for around £5.
Follow these six steps:
- Power down your desktop PC and unplug it from the mains.
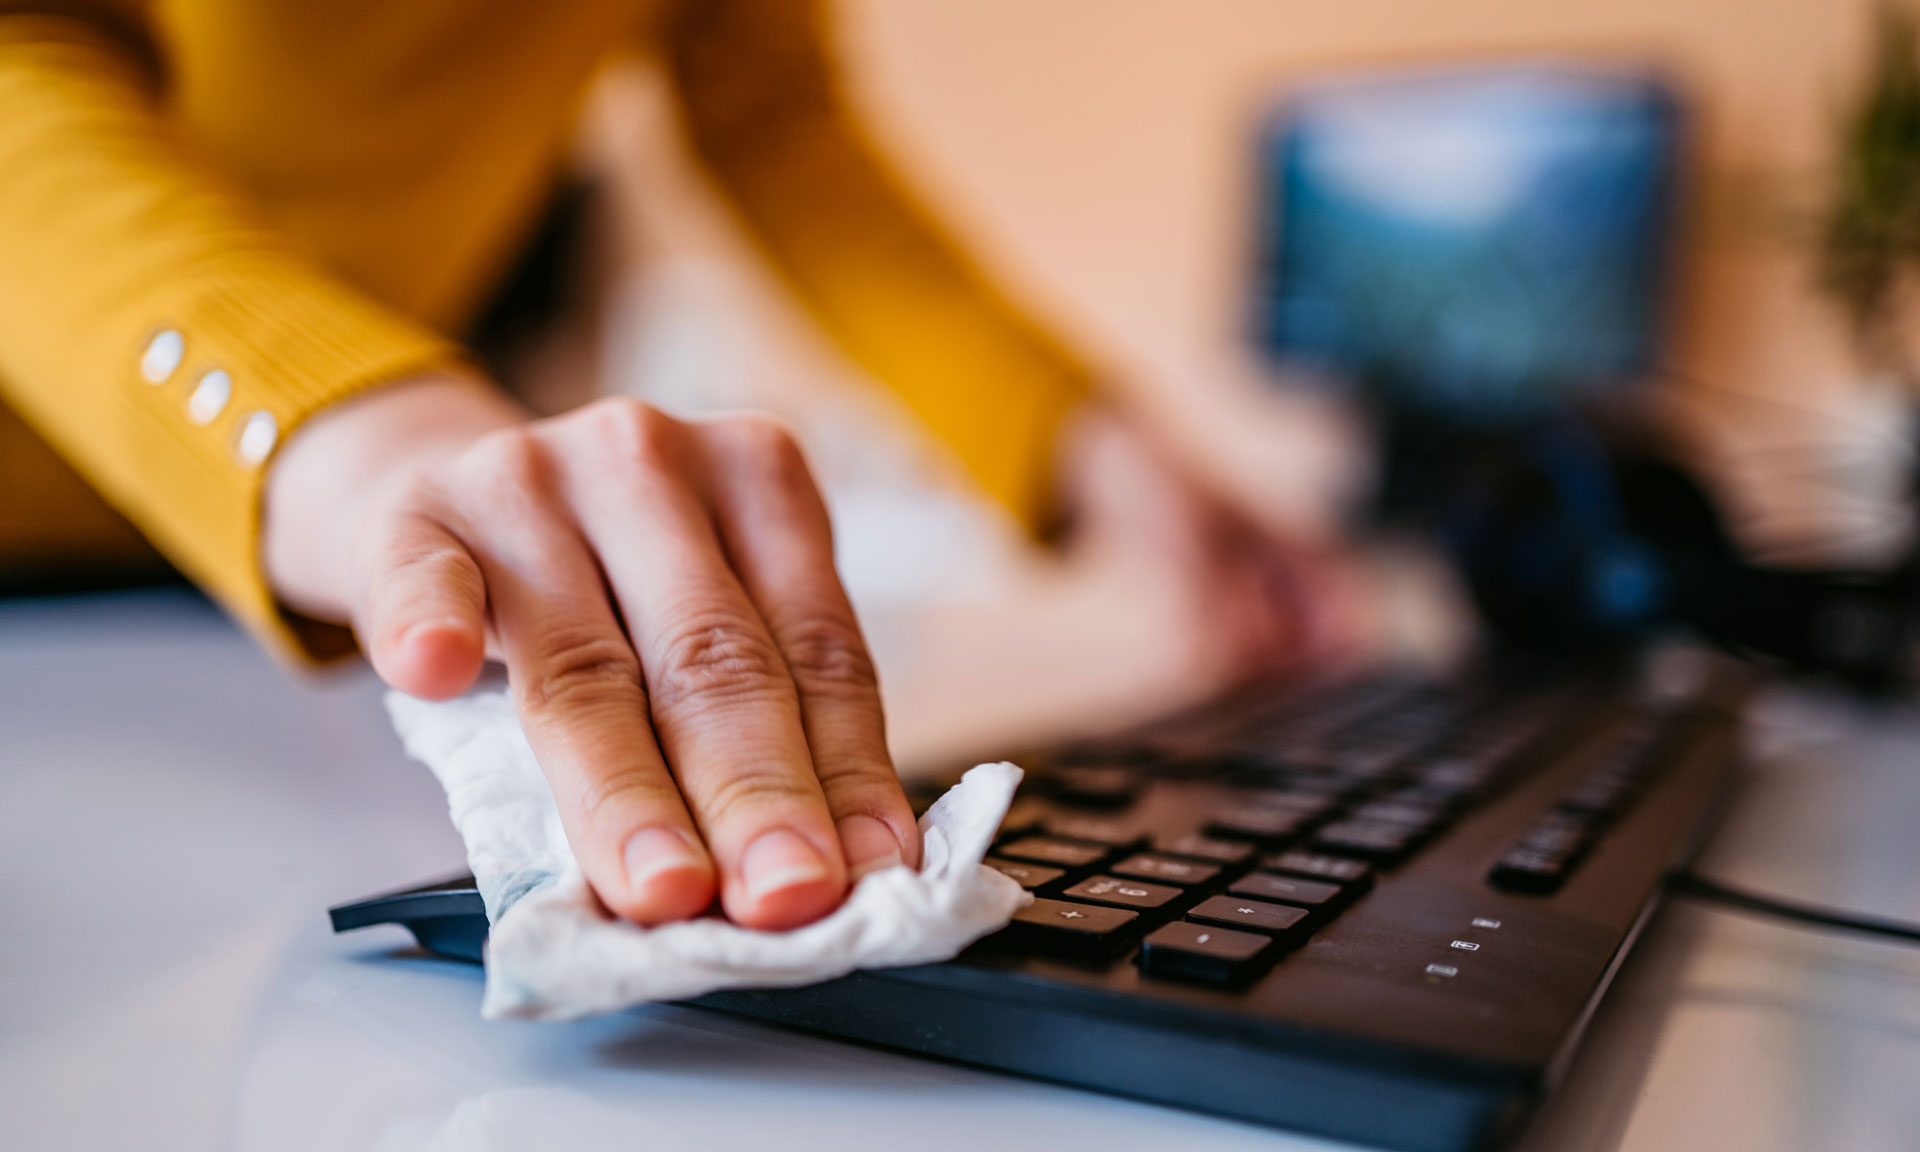
- Take a dry, lint-free microfibre cloth and wipe the desktop casing.
- Use a slightly damp microfibre cloth if there are still stubborn marks showing on the casing, but remember to dry them after.
- Clean your vents with a microfibre cloth - desktop PCs often have vents on both the front and back. Some desktops have a front panel that can be removed to gain access to the vents.
- Use a cotton bud to remove any dust in the air vents that your cloth can't reach.
- Compressed air isn't the best option for cleaning laptops, but it can work well for desktop PCs. Use it to blow dust out of the PC's case, but shake the can well beforehand and don't hold it too close to any components.
A speedy desktop PC can be the perfect working-from-home companion. If your current machine is feeling a little dated, consult our advice on the best desktop PCs.
How to clean a computer screen
Don't use a kitchen towel
Whether you use a laptop or a desktop computer, a dirty screen can leave you squinting at text through grime and smears, which isn't a pleasant experience.
We suggest you avoid using a kitchen towel to remove the dirt - these are slightly abrasive and can scratch the surface of your screen, which is damage you can't undo.
Don't use damaging household chemicals
Although computer shops sell a wide variety of screen-cleaning products, they're not essential.
Never spray window cleaner directly onto your screen, or use any potentially corrosive cleaning chemicals. These are highly likely to damage the coating on your display and make visibility even worse.
Follow these five steps:
- Power down your computer and unplug it from the mains.
- If you're cleaning an external monitor, disconnect it from your PC.
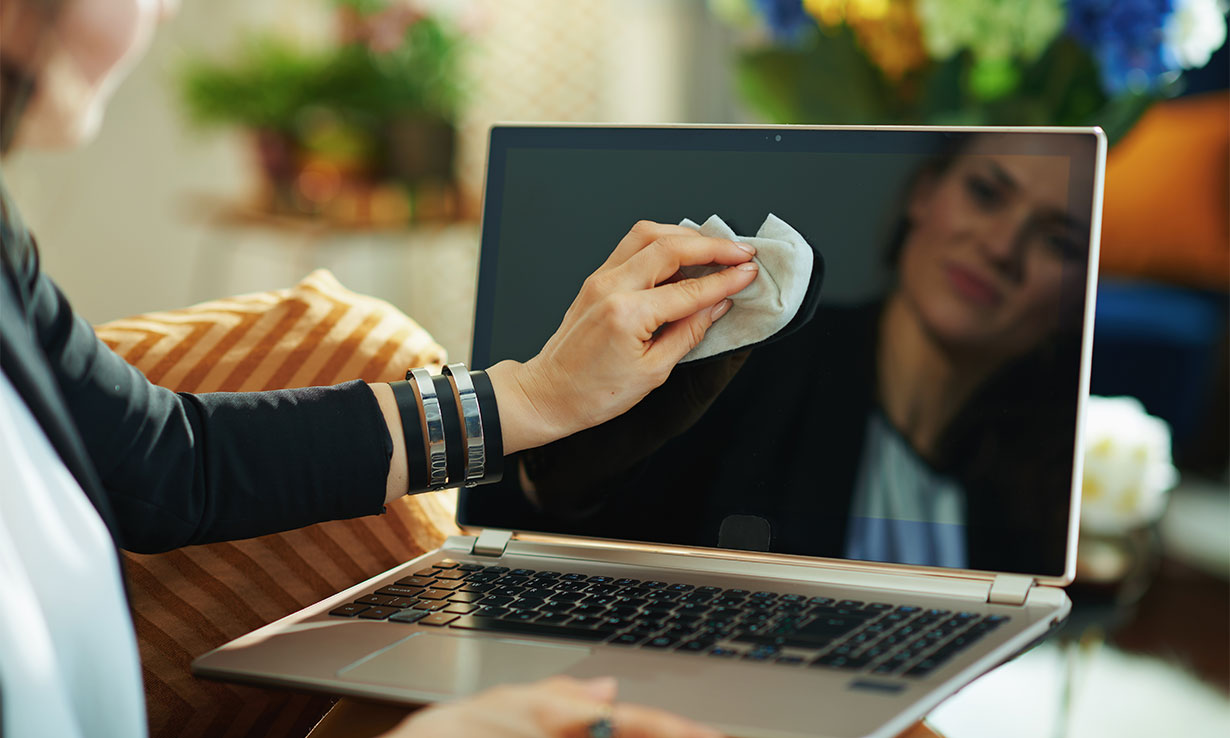
- Use your dry microfibre cloth to wipe the surface of the display with circular movements. Don't press too hard, as this could damage the LCD panel.
- You can use a slightly moistened microfibre cloth to remove dirt and smears that won't come off with a dry cloth.
- Wipe up any moisture left behind.
If you're currently working from home, investing in a second display can make your work easier as it gives you more space for multiple windows. See our guide to the best computer monitors.
How to clean a keyboard
Don't put the keys in the washing machine
No, really. One popular keyboard-cleaning 'hack' involves popping off the keys from your keyboard and chucking them in the dishwasher.
This is obviously a bad idea, particularly as some keyboards don't have removable keys. Even on an older mechanical keyboard, it's not advisable - it's easy to break the keys when taking them off, and putting them through a dishwasher could end up removing the lettering from the keys.
Before you can start cleaning your keyboard, you need to identify if it's a mechanical model or a low-profile model.
- Mechanical keyboards have switches underneath each key, comprised of several moving parts. They're generally quite loud to type on, too.
- Most laptop - and many external - keyboards now feature low-profile keys rather than raised mechanical ones. These have the benefit of fewer moving parts and less space for dirt to get stuck between the keys.
Whatever type of keyboard you're dealing with, you'll need to disinfect it with an alcohol solution - we suggest 70% isopropyl.
Follow these five steps for mechanical keyboards:
- Turn off and unplug your keyboard before you start.
- Turn the mechanical keyboard upside down and give it a shake - be prepared for lots of dirt to fall out.
- Use a damp cloth to remove most of the grime on top of your keys.
- You may need to use a cotton bud to work away at the dirt nestled between the keys.
- Disinfect your keyboard using an alcohol solution.
Follow these four steps for low-profile keyboards:
- Turn off and unplug your keyboard before you start.
- Wipe down the keyboard with a slightly damp cloth.
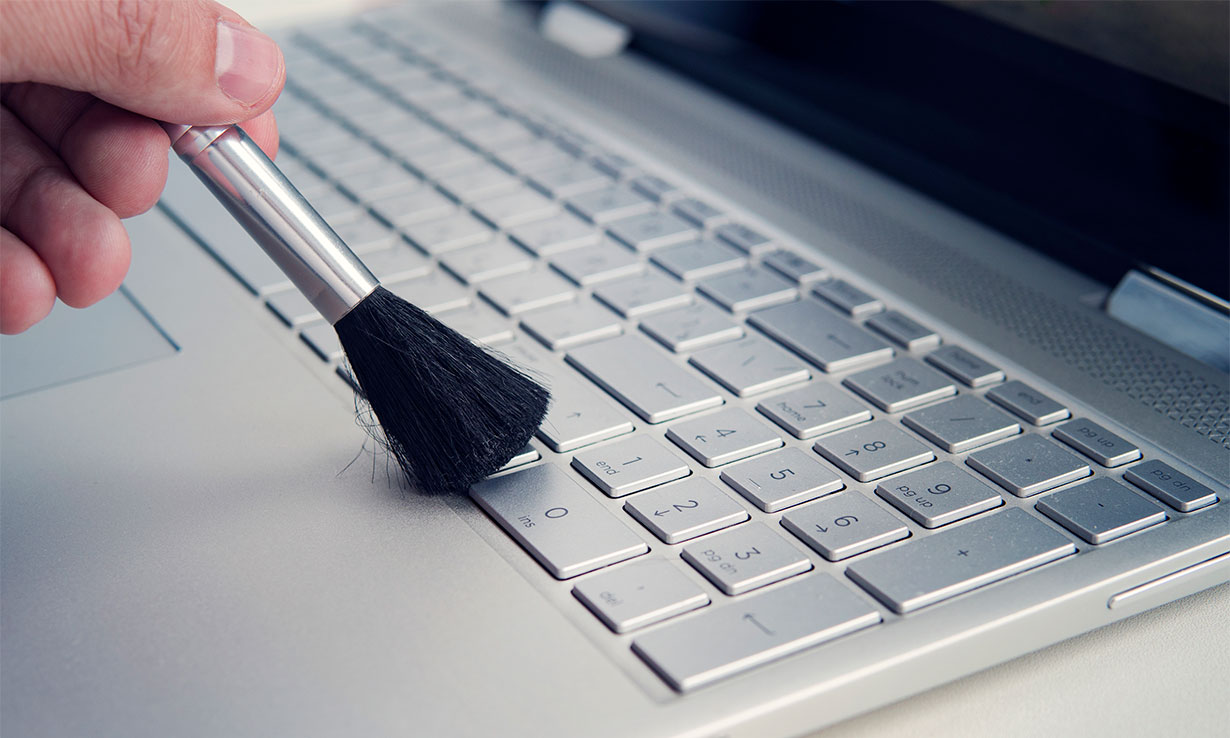
- Use a small paint brush to remove dust and dirt from between the keys.
- Disinfect your keyboard using an alcohol solution.
How to clean a computer mouse
Your computer mouse is usually the most unhygienic area of your computer, simply because this is the part we touch the most. Grease or germs from our fingertips can easily transfer to these surfaces as we merrily type, swipe or click away.
Follow these six steps:
- Disconnect your mouse from your laptop or desktop PC.
- Use a moist cloth to clean around the scroll wheel and the gaps between the mouse buttons.
- Grab a cotton bud if there are some pieces of dirt that the cloth can't reach.
- Clean away any dust that has collected on the underside of the mouse, as this can block the optical laser and make your on-screen cursor glitchy.
- Wipe the mouse down with an alcohol solution.
- Finish off by cleaning and disinfecting your mouse mat.


Comments